Pros vs Joes: The Professional Bathtub Refinisher’s Advantage
To some, bathtub and tile refinishing is a relatively new concept, but in fact this alternative to traditional remove-and-replace remodeling has been around for quite some time. Over the last 50 years, professional bathtub refinishing professionals have perfected the refinishing process, identifying the best materials and most efficient and effective techniques for applying them to guarantee a long-lasting, quality finish that will make any bathtub look and feel as good as new.
More recently, “DIY” has become the mantra of many homeowners looking to save money on more cosmetic home improvements. Many handy homeowners opt to take on the challenge of giving their bathrooms a fresh, new look themselves, but don’t consider the significant advantages of professional service, which will yield better results and generate more cost savings in the long-run.
Let’s compare a DIY refinishing kit off the shelf at Home Depot with what a professional bathtub refinisher would offer:
BATHWORKS DIY Refinishing Kit
DIY kits provide the basics for bathtub refinishing. This one from BATHWORKS includes painting equipment in addition to the primer, hardener and top coat (note: some kits only come with the coating solutions).
Kit Contents:
- Paint tray and roller
- Refinishing Paint: 1 pint
- Liquid Primer 1 ounce
- Hardener: 4 ounces
- Tack Rag
- Stir Stick
- 120 grit Sand Paper
- 4 Rubber Gloves
- Directions
- Safety Care Tips
The DIY refinishing process is done by using a paint roller to apply the primer and top coats. After using your sand paper strip to smooth the surface and wiping your tub down with tack cloth to remove any dust, you roll on each solution to apply the new finish to your tub, just like you would when painting your living room wall. Unfortunately, the limited supplies included in these kits are not sufficient to provide a quality finish that will last a full year without peeling or cracking.
Without properly stripping the tub of its current coating, the new coat will not bond correctly to the tub’s surface. This step is the key to a long-lasting finish and without it, you’ll notice your tub’s coat will start to chip or peel. DIY kits like this one do not include the chemical solution required to complete this process.
In order to ensure the smooth application of the new top coat, the tub’s surface must be completely smooth. Because of a bathtub’s material durability, you’ll need to power-sand the surface. Using paint rollers to apply the top coat also makes it tough to apply an even, non-textured finish, especially around the curves of your bathtub.
Now, let’s compare this to the way a professional technician would refinish your bathtub.
Professional Refinishing Service
- When the technician arrives, they will first look over your tub to ensure the accuracy of the initial estimate.
- Extensive surface preparation process, including caulk removal, masking the work area, rust and/or chip repair.
- If your tub has been refinished before, the technician will strip the tub of its current coating to get it down to its original surface. If you have a fiberglass tub, the old coating will be sanded off. This will allow the new coating to create a strong, smooth bond to your tub’s original surface.
- Once your tub is stripped, the technician will apply a special solvent to remove any contaminants and then apply a mild acid solution to etch your tub’s surface.
- Once these solutions take effect, the technician will rinse your tub and allow its surface to dry. Then, the technician will apply a high-quality polyester filler to even out any inconsistencies in your tub’s surface and sand it down for a perfectly smooth surface.
- The technician will mask off the tub and bathroom to protect your walls and other fixtures from any overspray and then wipe your tub down with a tack cloth to make sure the surface is dust-free so the new coating goes on smoothly.
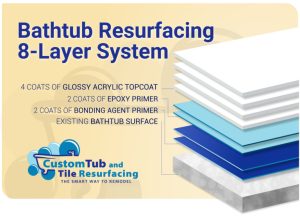
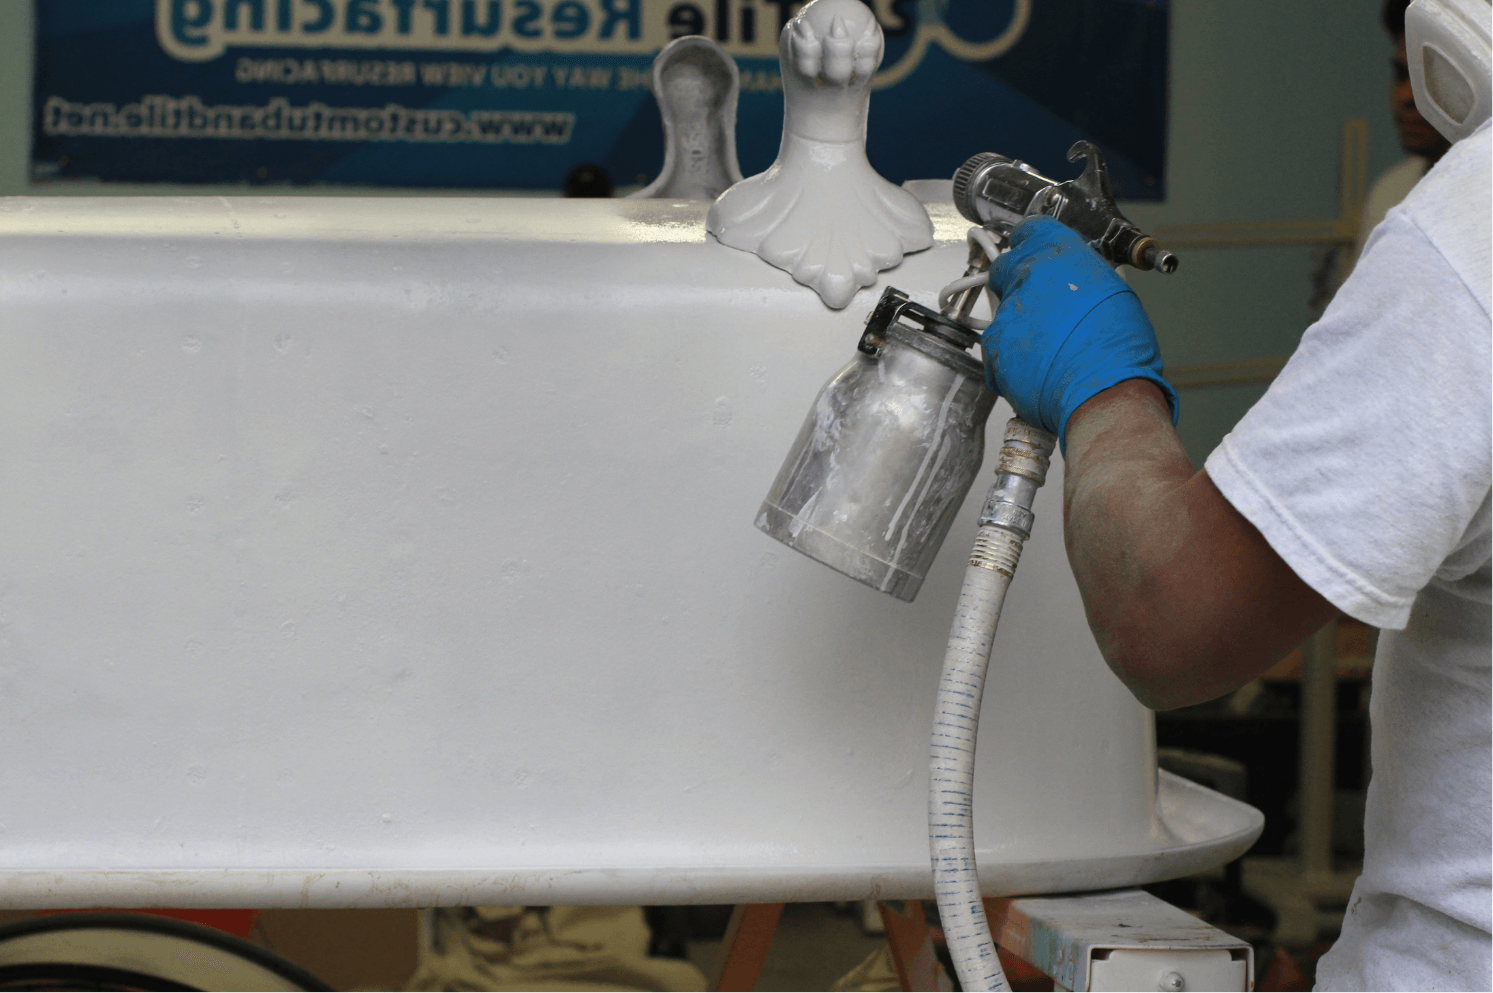
- The technician will wipe on a primer and then use a professional grade spray gun to evenly apply the top coat, giving your tub its new glossy, smooth finish. Once the materials cure (24 hours), your new tub will be ready to use!
At Custom Tub and Tile, we go above and beyond to provide added value for your investment.
 We provide a written warranty to all of our customers, guaranteeing the quality of our workmanship for up to five years.
- We use a ventilation system to minimize any lingering odors rom the refinishing process.
- We offer to apply a slip-resistant surface to the bottom of your tub for the safety of those in your home. This will eliminate the need for bath mats, which can damage your tub’s new finish.
- After your tub is sprayed, our technician will re-caulk your tub with a high-quality, mold and mildew-proof silicone sealant to at no additional cost.
- Our technician won’t leave until a thorough and professional clean-up of the area is completed. We make sure to remove all masking tape, paper and trash resulting from our process out of respect for your home.
- Any questions? Just ask! Our technicians and office staff are always happy to explain what we do. We enjoy educating our customers about our process, the products we use and the best ways to care for your refinished surfaces.
Doing it yourself simply doesn’t compare to the top-notch quality delivered by a refinishing professional. The greater caliber of workmanship is undeniable and will last up to five times longer than the results of any DIY kit available at your local home improvement store, saving you the headache and hassle of DIYing and up to 5% of the cost of kit purchases.
At Custom Tub and Tile, we pride ourselves on delivering the highest quality workmanship with excellent customer service. Visit our website to learn more about our unique process, or give us a call to schedule your free estimate today!


